Wednesday, April 13, 2016

stitch fix farewell

Last week I received Stitch Fix #4. 
I actually peeked on this fix {using the Stitch Fix app} before it came and was excited. 
In pictures they looked like they all could work. Well in on person, not so much. 

Let me start off by saying I got shoes!!! My first pair in four fixes!
They came in a linen pouch branded with Stitch Fix.


So here's what I received, breakdown in price and all...


My first piece was a tunic... the perfect cut and fit. The pattern was NOT! Not for me at least.
Going back.

they were like psychedelic palm trees : /


I was so excited for these shorts. They were a bit large for me though...


and I didn't care for the detail on the pocket.
Going back.


I really wanted to like this olive skirt. I knew it would be a long shot. I think it would have fit okay IF it didn't have spandex in it like leggings. I think that's what made these fit me awkward. 
 Going back.

This white embroidered top is super cute. But see through. 
I'm not a fan of see through top because I don't care for layering with tank tops. 
This top also was a bit snug on me.
Going back.


Now. I saved the best for last. These shoes! 
These are Franco Sarto sandals. And they are wonderful quality!!!
I looked them up on google and found them available at zappos.com for the same price. 
So I decided to snag these to not waste my $20 styling credit.
Keeping.


That's 1/5 for this Stitch Fix. 

The shoes were a great find, 
although I could have bought them from zappos.com for the same price. 

So I thought about Stitch Fix - the pros and cons... and came up with more cons for sure.

1. The biggest con is that you pay $20 for a styling fee... which I wouldn't mind if I actually felt I was being styled. Two out of four of my fixes it was obvious that my "stylist" didn't read my notes well. I actually wrote on my last note "no see through tops", and then received two. So why I am paying $20 for someone to style me, when all they are doing is glancing at my notes and randomly selecting pieces.

2. I am too picky. The main reason for me not liking those great cuffed shorts is because of the detailing on the pockets. Obviously I am too picky to be letting someone else pick out pieces of clothing for me. I can't expect someone else to know all the quirky things that bother me about clothing.

3. No deals. There's no thrifty shopping when it comes to Stitch Fix. You are paying retail pricing on these pieces, unless you keep all five items to get the 25% off. Which I have found, is nearly impossible to love all five of your pieces. Plus I don't call 25% off a great deal either.

With all that said, it's time for me to break it off with Stitch Fix.

FYI: Moments after discontinuing my automated fixes, 
I received an email with a $20 credit to try again. 
Although tempting, I'm going to pass. 
No reason to get reeled back. I made them an "ex" for a reason!

Farewell Stitch Fix. I gave you 4 months, but it just didn't work.

Monday, April 11, 2016

powder bath {on main floor}

So I just shared a diy botanical print artwork I put together for my powder bath on the main floor and decided it would then be time to show this small space for all that it is. Just that a "small powder bath".

I apologize ahead of time, since this room is so small {the smallest space in our entire house}, and has no natural light - it was very challenging to capture well. So pre-warning... the images you are about see are pretty rough :/ Well, here goes nothing something...

welcome to the powder room


powder room sign {honey wood home}
glass sink {build.com}
tilting oval mirror {build.com}
tissue cover {pottery barn}
welcome basket {hobby lobby} similar


Saturday, April 9, 2016

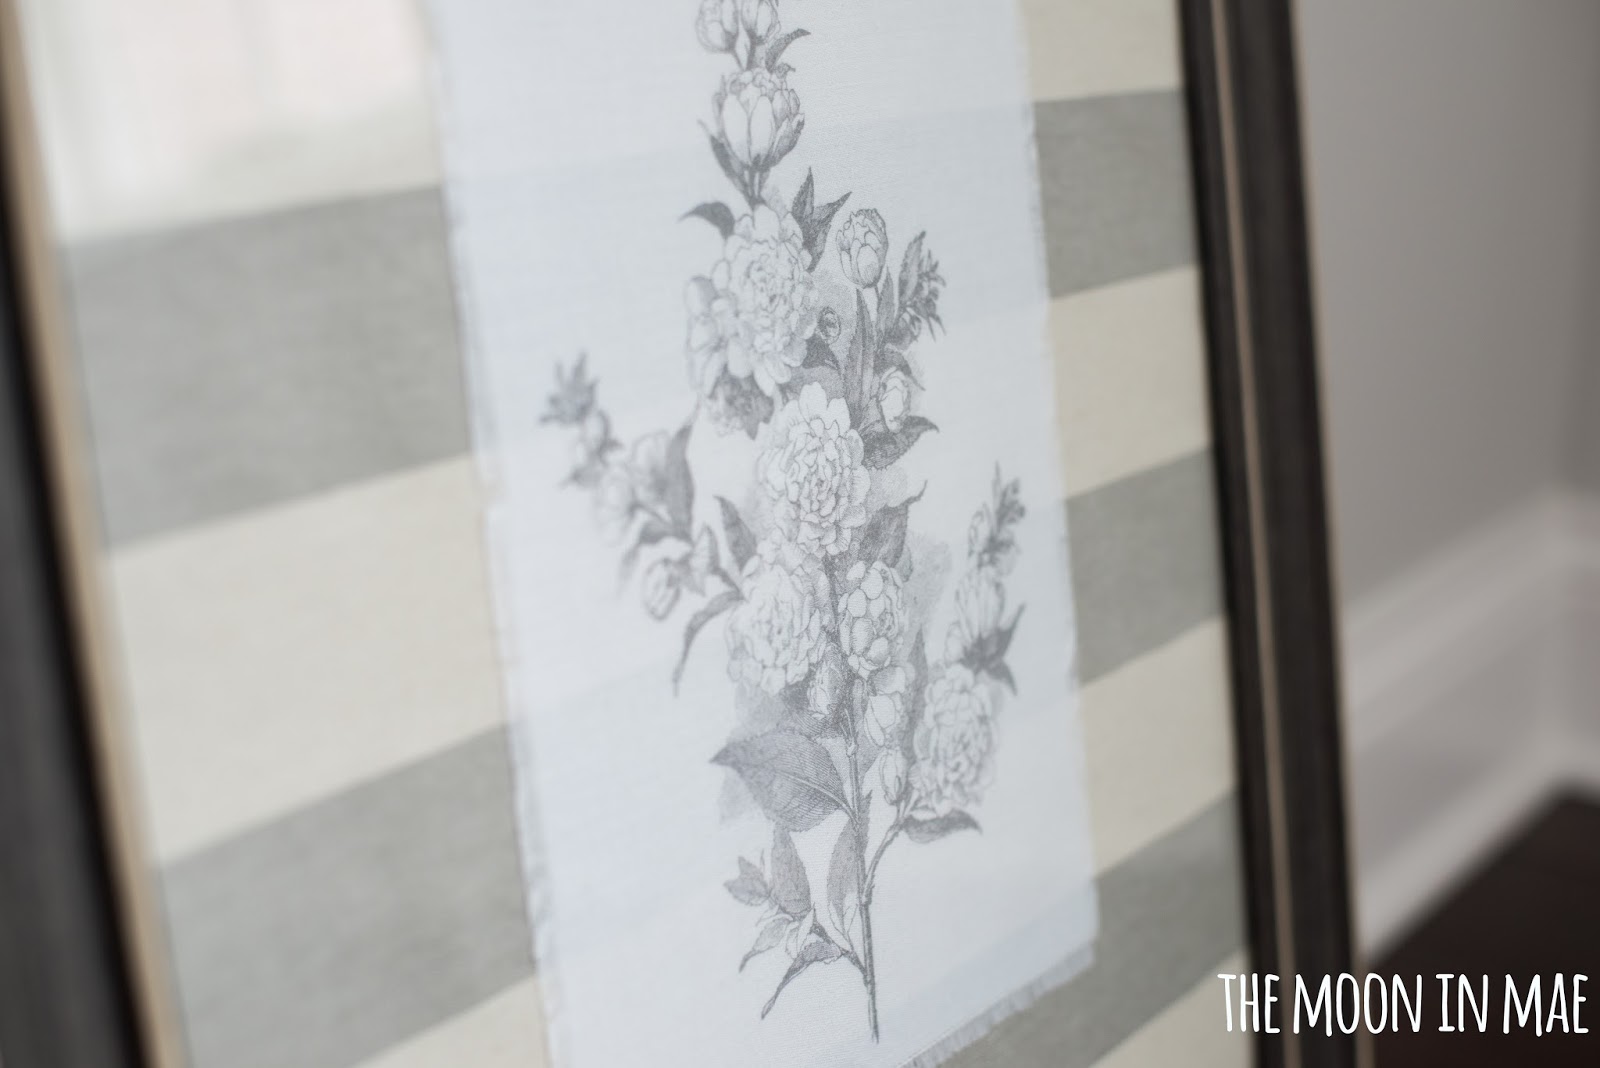
diy botanical art

I saw these fabulous botanical prints on a antique shopping run a few weeks back.


I loved the idea of them... but I didn't care for the linen look on paper. I'd want the print on real linen. It gave me the idea to make my own!

I actually had this striped fabric from pillow tie cover I made a few weeks ago. So I grabbed some white cotton fabric {a fat quarter would do}, and a $17 frame from Home Goods.


I took to google to find a botanical image I liked 
and found several great ones at The Old Design Shop for FREE!
I chose this one... 

... however, I did alter the original in photoshop 
by removing the wording at the bottom, so I had just the flowering.

I taped my white cotton fabric down on a piece of card stock and cut off any extra fabric sticking over the edges. I was little nervous about it getting jammed, but it came out the first print!

Then I just frayed all the edges by pulling threads from each side.


I think it came out beautiful. 
The black was definitely muted, but it makes it look vintage, so no complaints here ;)

Here's the finished product...


... and hung in it's final destination, our main floor powder bath.


I haven't shown this room yet, so it's time ;)


Friday, April 8, 2016

friday favorites


favorite stand {antique farm house}

favorite app {eclectically vintage}

favorite dining room {maison de pax}

favorite bunting {stone gable}

favorite diy project {a burst of beautiful}

favorite wall gallery {five marigolds}

favorite after {mountain modern life}

favorite sofa {pop & scott}


Wednesday, April 6, 2016

my very own herb garden

Last week On Sutton Place's, Ann posted her mason jar herb garden. Ann really motivated me to decide to put together on my very own. It was an easy, therapeutic project.

I started off with a trip to my local nursery, and then target.


I selected rosemary, lemon thyme, sage, lavender, parsley, and oregano.


At target, I picked up these filler rocks...


...and I found blue ball jars there too!


These are quart sized and wide mouth. Isn't that blue just gorgeous!


I started by putting a couple handfuls of pebble sized rocks at the bottom of my jars. 
Ann at Sutton Place does this too... 
1. it weights down the jars
2. it gives water a place to drain so the roots don't get over saturated
3. it adds texture to the overall look


Time to fill your jar with some potting soil. 
I pretty much followed Ann's directions all the way! She does a great job explaining her process.


Using wide mouth jars helped, but I found keeping the moulded soil intact was still too wide to fit in. So brushing all the loose soil off is key - mainly off the top and rim. 
This allowed me to be able to slightly squeeze my plants rooted soil and place down in the hole I created. I then took the loose soil I removed and placed back on top filling in any empty gaps.


I'm so happy with how they turned out! 
Now I have three things left to do....
1. find a jar carrier for them
2. make herb markers {Ann has a free printable of some super cute ones here}
3. keep them alive!

Thanks Ann for the motivation to make my very own herb garden!!! It was a success!


herbs {lowes}
blue jars {target}
filler rocks {target}
watering misting can {target}

 
Blogging tips