Wednesday, March 16, 2016

Stitch Fix #3 {technically}

I received my third Stitch Fix box last week. I know, I've only posted my first box. Well that is, to be honest, because when I received my second box last month I was so disappointed that as I pulled the items out I put them back in to ship back. I felt like I had deja vu, but this time I was confused, and a little upset {I aint gonna lie}. I was pulling out pieces that carried the same negatives as the first box. Clingy materials, wanna be skinny jeans that didn't fit me like skinny jeans {not to mention they were six inches too long!}, and then I received a see through floral cap sleeve top - in winter? Oh, and a faux fur vest that has shed all over all the pieces during transit, lol. It was a mess - I really should have taken pictures... but I couldn't bare it.

Needless to say I wrote Stitch Fix asking them "what the heck happened with that fix?" I was given my $20 styling fee back as a credit and asked to give them one more try. So of course, I did ;)

And so I bring you Fix #3.


I was so excited when I saw I had a tote in there...  
but I was over the moon when I saw this olive Rowen quilted vest. It's got black trim and gold zipper details. I really wanted to keep this guy! He's $88 retail. Ouch!


I also received this super soft Fabiana button down top. $64 retail. I really wanted to love this top. I love plaid, and this blue is so pretty. It also has a cute cross pattern on the inside layer that you can see at the bottom of the top as well as the sleeves if you fold them. Unfortunately, the shoulder width is way to wide for my narrow shoulders. Plus the waist cinches in a bit, which doesn't work well for my non curvy body type.


Another plaid piece! This one was made for me. In fact, I actually had it pinned on my style Pinterest board. This top is super comfy too!! It's called the Bari woven back knit top. Retail $58. Keeper!


So here's that tote I was excited see. It's the Parvin reversible tote. $58 retail. Let me start with "mint = love obsessed!" I really thought hard about this one... the shape is great, color is perfect, and I adore that tassel detail. Now here's the purse snob of me speaking... the quality isn't there. Knowing it's not a "brand" - I probably won't find myself grabbing it often. 


Oh, and mustn't forget to mention those jeans I wore in every picture here. They are Jimmy skinny jeans. Retail $88. I actually really liked the way they looked on me. They were a tiny bit pinchy on my middle section. Between that and the fact the any sort of lint gravitates to them {which showed really well on these dark puppies}, I decided they weren't worth the price.

So here's the break down... and what I kept:
1. Rowen quilted vest. $88 {keeper}
2. Fabiana button down top. $64 {it's a no go}
3. Bari woven back knit top. $58 {keeper}
4. Parvin reversible tote. $58 {it's a no go}
5. Jimmy skinny jeans. $88 {it's a no go}

I really wanted that olive quilted vest. However, I couldn't justify that $88 price tag... so I made an agreement with myself that if I could find someone to buy my "it's a no go" list to get the 25% off for keeping all five items, then I would keep the vest. Otherwise I would only keep the plaid back top.

How do I find someone to buy these pieces you ask? Remember when I posted about this great Facebook group specifically for all things Stitch Fix? That's how! I was actually successful finding one person to take my jeans and top. Then another to take the tote. I lost a tiny bit because of taxes and paypal fees. However, I still came out ahead $30.

For my next fix I've already requested a "summer fix" to get ready for my vacation coming up in May. So I'm curious to see what I find in my Fix #4.

Monday, March 14, 2016

{diy} tie pillow cover


After cutting the seam edges of my {used to be} table cloth - I racked my head a little on what to do with those seam edges. I came up with a tie pillow cover!


I started with this fabulous gray and cream striped upholstery fabric... and then of course incorporated some of that colorful floral table cloth {I have plenty left!}. I cut out out my measurements for the size of pillow I'm fitting.


I sewed the two skinny panels to the middle floral panel, creating one panel. 
Then ironed it to make sure it was nice and flat.


I then needed finished seams at the end of my open pillow case. This gave me the perfect opportunity to give my pillow a flap to tuck into, so you don't see the actual pillow 
- as well as a place to sew in those seam ties.


I cut 11 inches for each one of my ties. Pinned them in place on my flap. 
Then sewed my flap to my front panel. 
Sew a hem at end for a finished look and keep from fraying.


I ironed down my flap, and ended up this {laying inside up}...


I did the same steps - this time to my back panel. Pinned my 11 inch ties in place on my larger flap. 
Then sewed my flap to my back panel. 
Oh and sew a hem at end for a finished look and keep from fraying.


Now I have both my finished front and back pillow cover panels. Place your inside sides face up and sew your three unfinished edges. Don't sew your tie edge - that's where your pillow goes in ;)

Done sewing? Turn your new case right side out & give a good iron.
Stuff your pillow in then take your larger flap up and over your pillow side to hide it all the way.
Bow your ties and you are done my friend.


Sunday, March 13, 2016

spring {easter} decor

Hello warmer weather, rain {yes, rain}, and blooming flowers! I'm pulling out the spring decor :)

I've been wanting a mantel forever! Our first home didn't have one, and it was on my "I want" list when building. However, now that I have one I feel I've brought shame to our mantel! I haven't achieved one single look on it that I love. My spring mantel is the closest I've came I believe, but I know what it really needs.... a {staple, foundation, statement} piece. Something that will anchor the mantel down and fill the large blank void. One day, I'll find it, but today this is what I have.


You might recognize this little pot here {diy project} ;)


Hello spring, indeed!


Moving into in the dining room {giving a full view of the no sew runner!}...


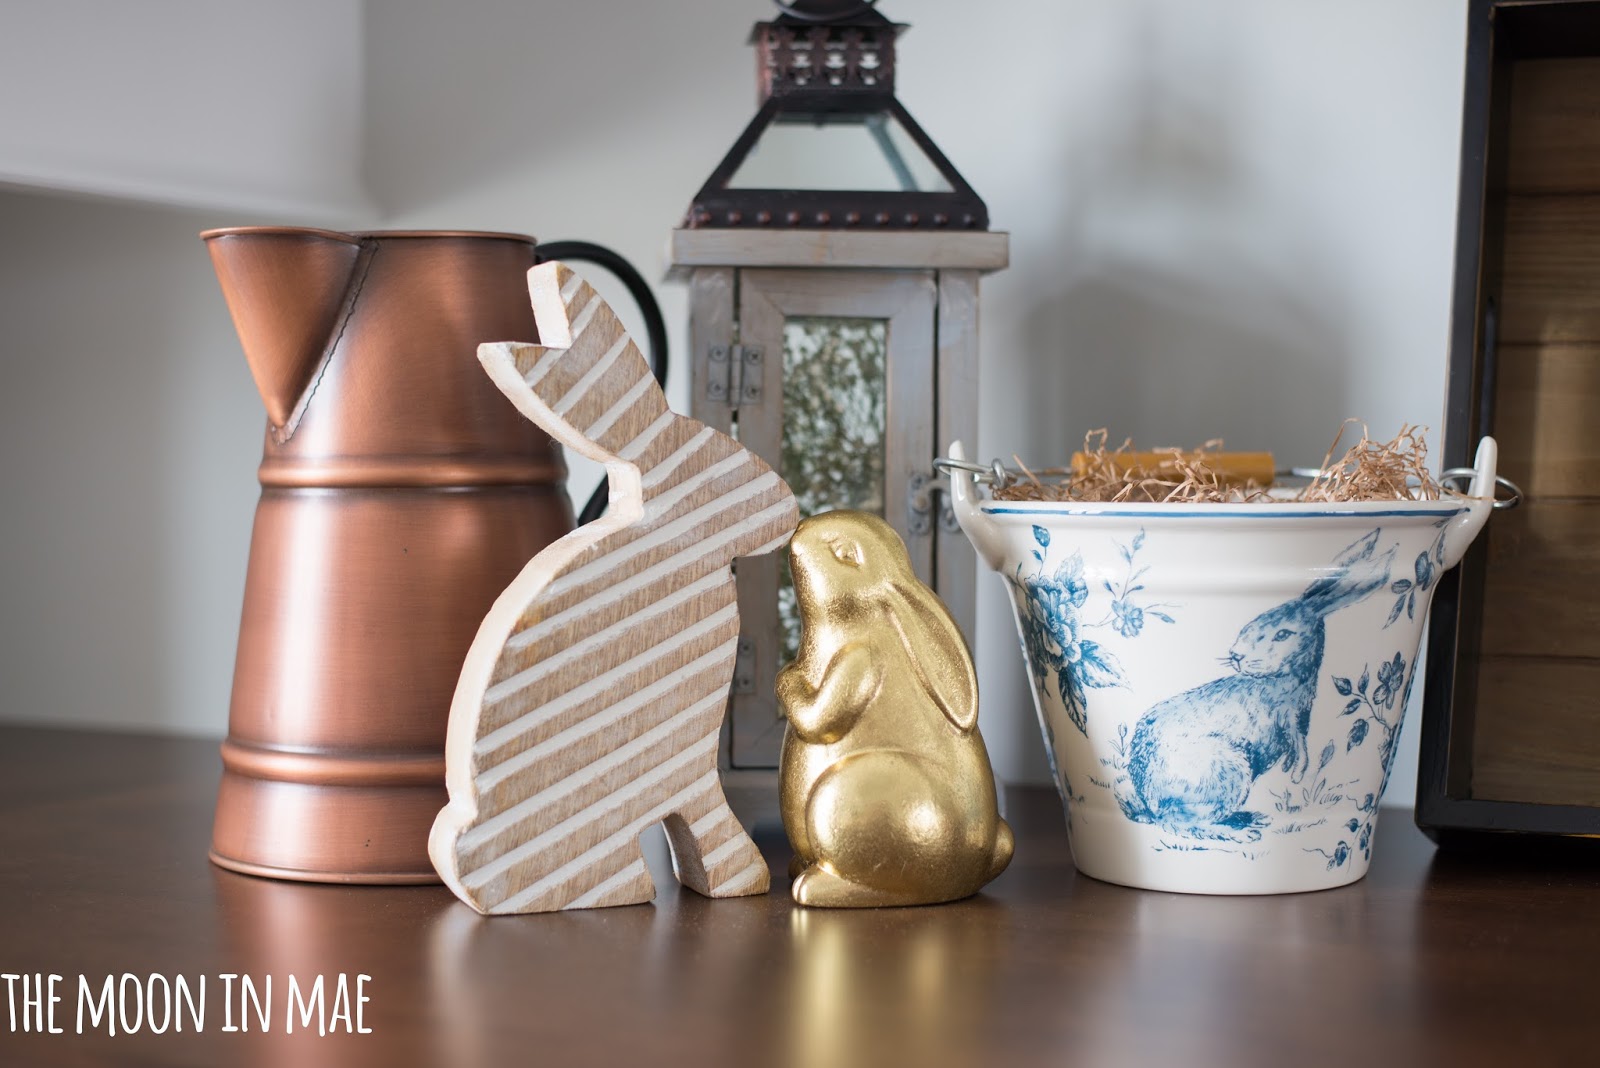
{kissing bunnies}


where I found what...

- on the mantel -
white ceramic bunny {JoAnn Fabrics}
fleurs bucket with flowers {my local grocery, Kroger}
home sweet home pallet {JoAnn Fabrics}
hello spring flag {Target}
gold bunny {JoAnn Fabrics}
chicken wire bird cage {JoAnn Fabrics}

- in the dining room -
happy easter sign {JoAnn Fabrics}
large white ceramic bunny {Home Goods}
wooden bunny {Home Goods}
gold bunny {Home Goods}
ceramic bunny pail {Home Goods}

HAPPY SPRING DECORATING!


Friday, March 11, 2016

friday favorites {st. patricks day}


favorite light {DK home}

favorite top {crew factory}

favorite furniture flip {D.D.'s cottage & design}

favorite banner {swanky burlap}

favorite diy project {mason jar crafts love}

favorite door {charlestonly}

favorite recipe {fantabulosity}

favorite bathroom accent {southern home supply}

Wednesday, March 9, 2016

terra-cota pot makeover

I have this little dinky terra-cotta pot that for whatever reason I couldn't bare to part ways with.

I decided to give him a little makeover ;) Starting with white acrylic paint.


After a little dry brush painting... it's time to add some sparkle to this little guy. 
I've got some gold leaf and metal leaf adhesive right here...


Before the gold leafing can begin, I blue taped me a little stripe.


Then apply your gold leaf adhesive on generously and give about 15 minutes to dry.
Tear off small sections of your gold leaf sheet and rub on top of your stripe of adhesive.


Carefully peel of your blue tape... 
and you got yourself a stripe {or whatever pattern, shape, or word your creativity came up with}!


I have plans for his little guy, and how I'm going to incorporate him into my spring decor... that post is coming soon!!


Tuesday, March 8, 2016

{no sew} table runner

This week is the week that I'm getting this house in the spring mood! I had bought a floral table cloth from Home Goods for my dining room table to help bring some color and life... however, after putting it on my my table I felt it was too overwhelming with the floral pattern. I love the pattern, it's just covering over my entire table - is a bit much.


So I took this $17 - 120 inch long rectangular table cloth and turned it into a shabby chic table runner. And with NO sewing I might add!

I started by measuring out how wide I wanted my runner. I decided on 15 inches. Using my measuring tape, I measured 16 inches across and marked a line every few inches all the way along the length of my table cloth.

Cut along your marks and you are 1/3 done.

Next cut off all the seams of your finished edges.


Here's what's left - nothing but raw edges...


Then you create a frayed edge along all four edges of your {almost finished} table runner. You do this by pulling one or two threads at a time. More than two you will start to get all snagged up. It's best to take your time and be gentle when pulling your threads out. You can decide exactly how frayed you'd like your runner. There is no right or wrong here.


However, I will prepare you that it's unlikely your runner will be exactly square with the woven lines. So know that the amounts of fray will vary along your edges. I personally think of it as an added shabby chic element.


{this project could also easily be done with just fabric... however buying a table cloth that is made with linen or upholstery type material is less expensive than buying three and half yards of that quality of fabric} Another nice plus... I have still have plenty more of this floral fabric to make something else with ;)


Blogging tips