What you'll need:
- burlap of your choice {actually, you can use a variety of ribbons or fabric for this, but I'm using burlap today}
- fabric scissors
- measuring tape
- stapler
- hot glue
Here we go!
1. depending on the width of ribbon {the wider the ribbon, the longer you'll want the ribbon}, and depending on the size of bow you are going for will determine the lengths you cut your pieces.
Start with three... one small {here, I did 4 inches}, one for the loops {here, I did 15 inches}, and for the tails {here, I did 20 inches}.
2. start by forming your loops. Take each end and fold to the middle. Then staple together.
3. pinch the middle in half to create a pleat. This becomes too thick to use a stapler, so I use hot glue to hold the inner layers together.
4. moving on to the tails. Find the center, and fold in half. Then fold up on each side to create a triple pleat. Grab your stapler and try to get at least one through, if not this is where your hot glue can be handy.
5. Take your littlest piece, which it the most important part, because it holds this thing all together. Just fold it however you'd like to get your desired width. I chose to just fold it in half... but if you are working with a wide ribbon, you'll want to fold each side to the middle so you have only a third of the width exposed. Then staple each side.
6. Now it's time for the fun part!! Let's put it all together. Place your loops {pleat side down}, and your tails {pleat side down}, on top of your small piece, centered. Then wrap one side of your small piece around, hot gluing in place. And wrap the other side, hot gluing in place - cutting off any excess.
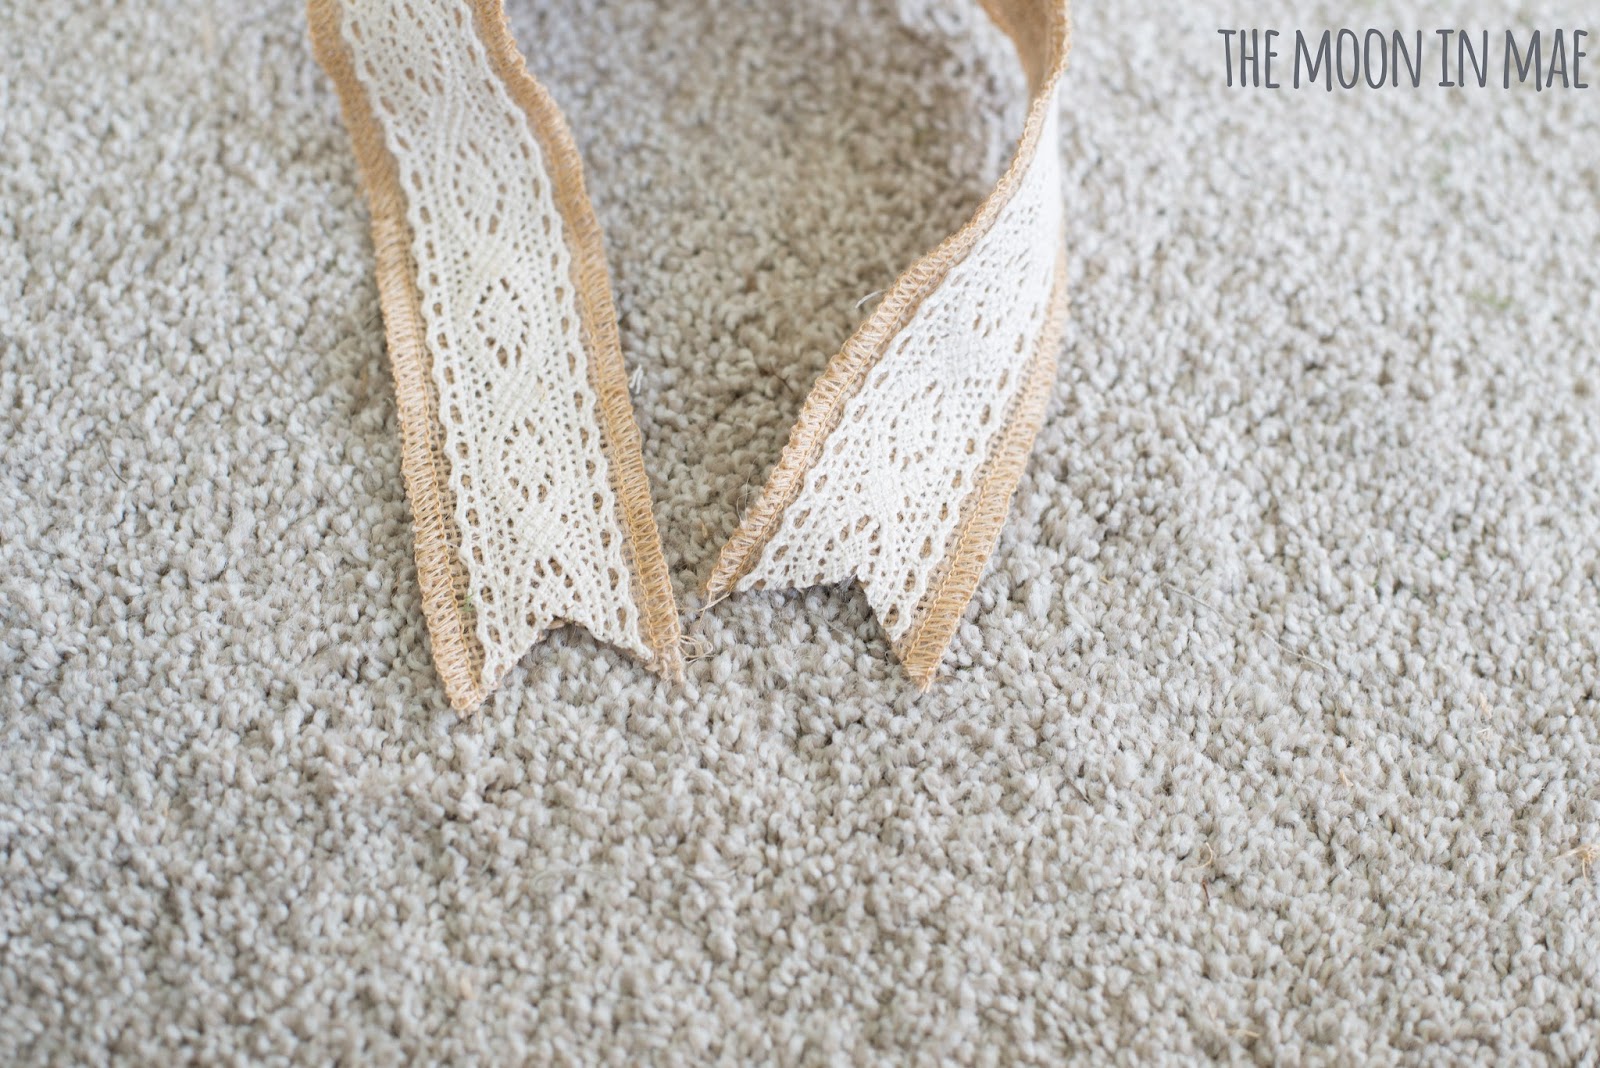
7. one more finishing touch... cut your tails at either an angle or in a pendant shape.
You know what? Now you have bow!
Keep a look out, I'll be posting my spring wreaths here real soon ;)


No comments:
Post a Comment